*Level of the job: 2 (1 to 5, 1 = easy 5 = difficult)
*Required (special) tooling: good soldering iron / station, 60/40 solder, wire stripper, wire cutter
*Required parts: good copper wires
*Required technical data (think info sheets etc.): none
*Estimated time: Once you get the trick, 2 minutes for a good connection.
I notice that a lot of people run into questions & problems regarding the wiring of our beloved vehicles. Since our hobby projects are extending more and more into the electronic upgrades, it is of great importance that all connections that have to be made, are made the right way.
To start things of i am beginning with a soldered connection in a wiring loom, for example in a dashboard loom.

I am using an old Weller Magnastat, an old station discarded at my wife's work for being unsafe because of the open connections

In theory every iron is usable if you are sure that it operates at a constant 370 degrees Celcius. This station is fitted with a sharp tip, suited for small wiring jobs and circuit board repairs, the flattened tips most irons are equipped with are also good to use for wiring.
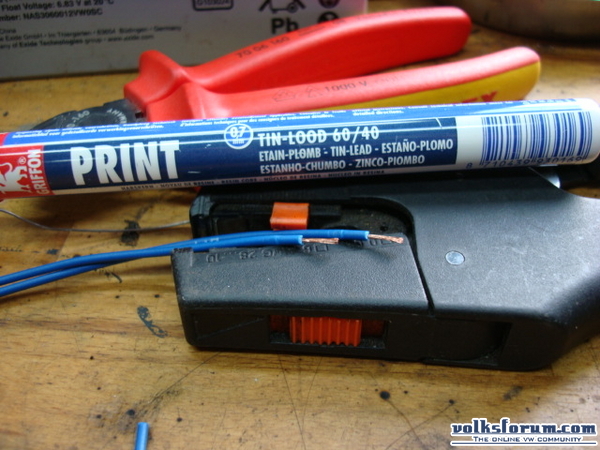
3 important sidenotes;
1: Solder in a 60% Tin & 40% Lead mixture or, even more desireable 63%/37% mixture, this is eutectic solder, wich means that the solder goes from fluid to solid almost immediatly, better chance on a good connection

2: A good wire stripper and cutter, not those two lying around the shack for years and that where used for clipping the odd nail here and there. Good stuff that works without damaging the wire, i am a fan of Knipex, but most DIY stores offer good quality tools of their own brand these days.
3: Strip your wires down 10mm, more is unnecessary, less is unhandy to work with.
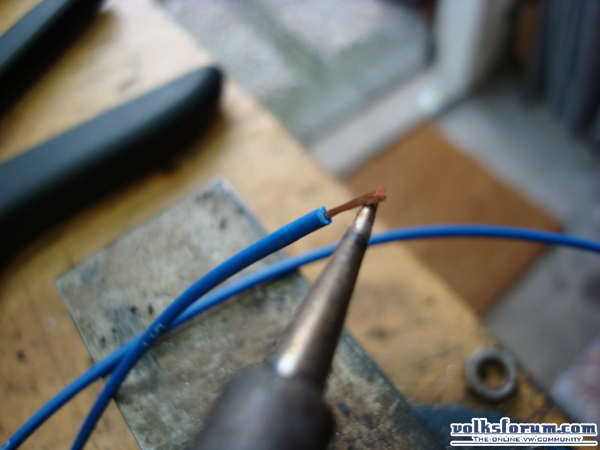
First whe tin the end of our two wires. It is ok to have some tin at the tip of your iron, but no big drops please...

all surplus of solder will flow under the isolation because of the capillary action. The flow of solder is good, but you don't want it under the isolation of the wire. Perhaps this is a regulary moved loom and solder under the isolation enhances the risk of broken wires.

Both tinned and ready to use, only you really need three hands to do this, but there is a trick, which also provides for a mechanically stronger connection.
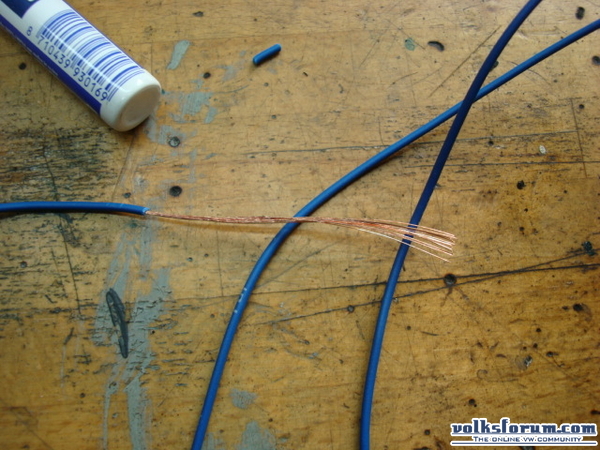
Strip a wire for 5cm.

Take 3 strands of the wire and twist them up.
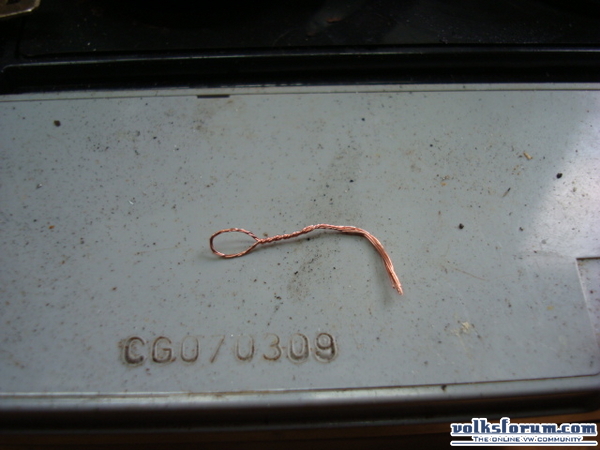
Make a lasso out of the twisted wires, bend the end 90 degrees, wich makes a noose out of it.
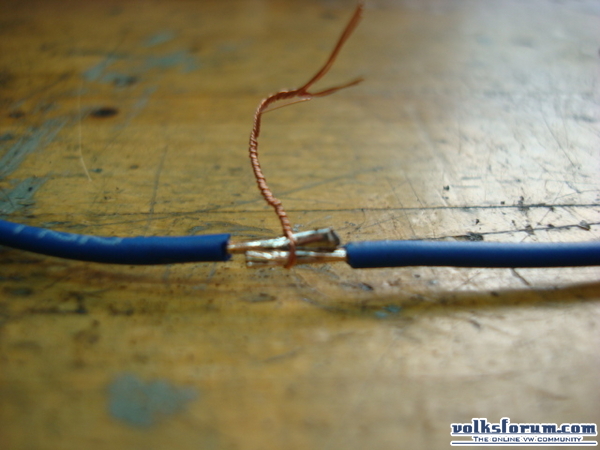
Put the two wires together and tie them up with the noose until they are firmly together,
if the wires are hard to get into this position, use 2.

Take the soldering iron, wipe the tip clean, because tin that is allready 5 minutes on your tip is not useable anymore! Hold it against the connection and add a little tin and....ready!!! At the moment you retract the tip from the connection it's important to cool the connection asap, so blow at it, so that the tin goes to a solid state fast. If your connection looks shiney like the one above, it's good. Cut the rest of the noose as short as possible.
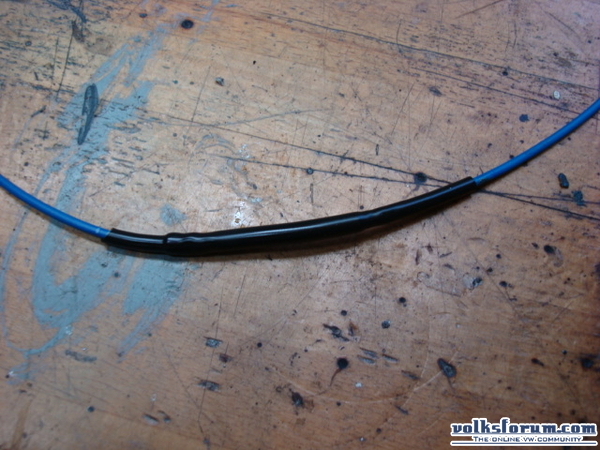
In a loom this is the best way to finish your connection; heat shrink. In places were there is severe mechanical rubbing or shaving you can add self fusing tape.
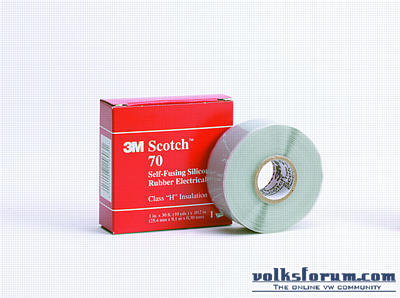
That is a non-sticking tape, that fuses together into one layer of rubber. Gives good mechanical strength and protection. Available in different sizes, colors and from multiple brands.
Be advised that the fumes that are released with soldering are NOT good for you, no matter how much you like the smell of resin-cored solder...

In the next episode i will be explaining how to make crimp connections
